
In a follow up post to our last DIY, I wanted to share a larger, streamer box, made for your monster flies. This is another easy build, using 6mm foam and a plastic case. I used a single layer of the 6mm foam, but in the past I've also used two. Having the extra thickness doesn't hurt and gives you a little room for error.
I love these boxes and have built them in a variety of sizes. Through the same company as before, Flambeau, you can get the same boxes you might find at Michael's craft store under the Art Bin name. You're just cutting out the middle man ordering them from the web, and avoiding having their logo burned in the top.
You can find the different sizes on the Flambeau webpage. See here: FLAMBEAU TRADESMAN CASES. Also be sure to check out their Clearance page. The green case used in this DIY is the 10 1/2 in case and cost $1.84. As of publication, there are still some available.
You can get these cases with and without egg shell foam through Flambeau. With the foam they make great fly tying travel cases for just a few bucks. The foam keeps your materials from moving around and it'll hold most fly bases I've encountered.
I figure cost out the door is around between $4 and $6 depending on the extra layer of foam and size of choice. Beats the heck out of $35 and a trip to the fly shop.

For this you'll need two (or four if you want thicker pad) sheets of 6mm foam, Flambeau case (this is the 10 1/2 in), a razor cutter or Exacto knife, a straight edge, and spray adhesive.

Using a hard surface, use the case's edge to create an indentation in the foam.
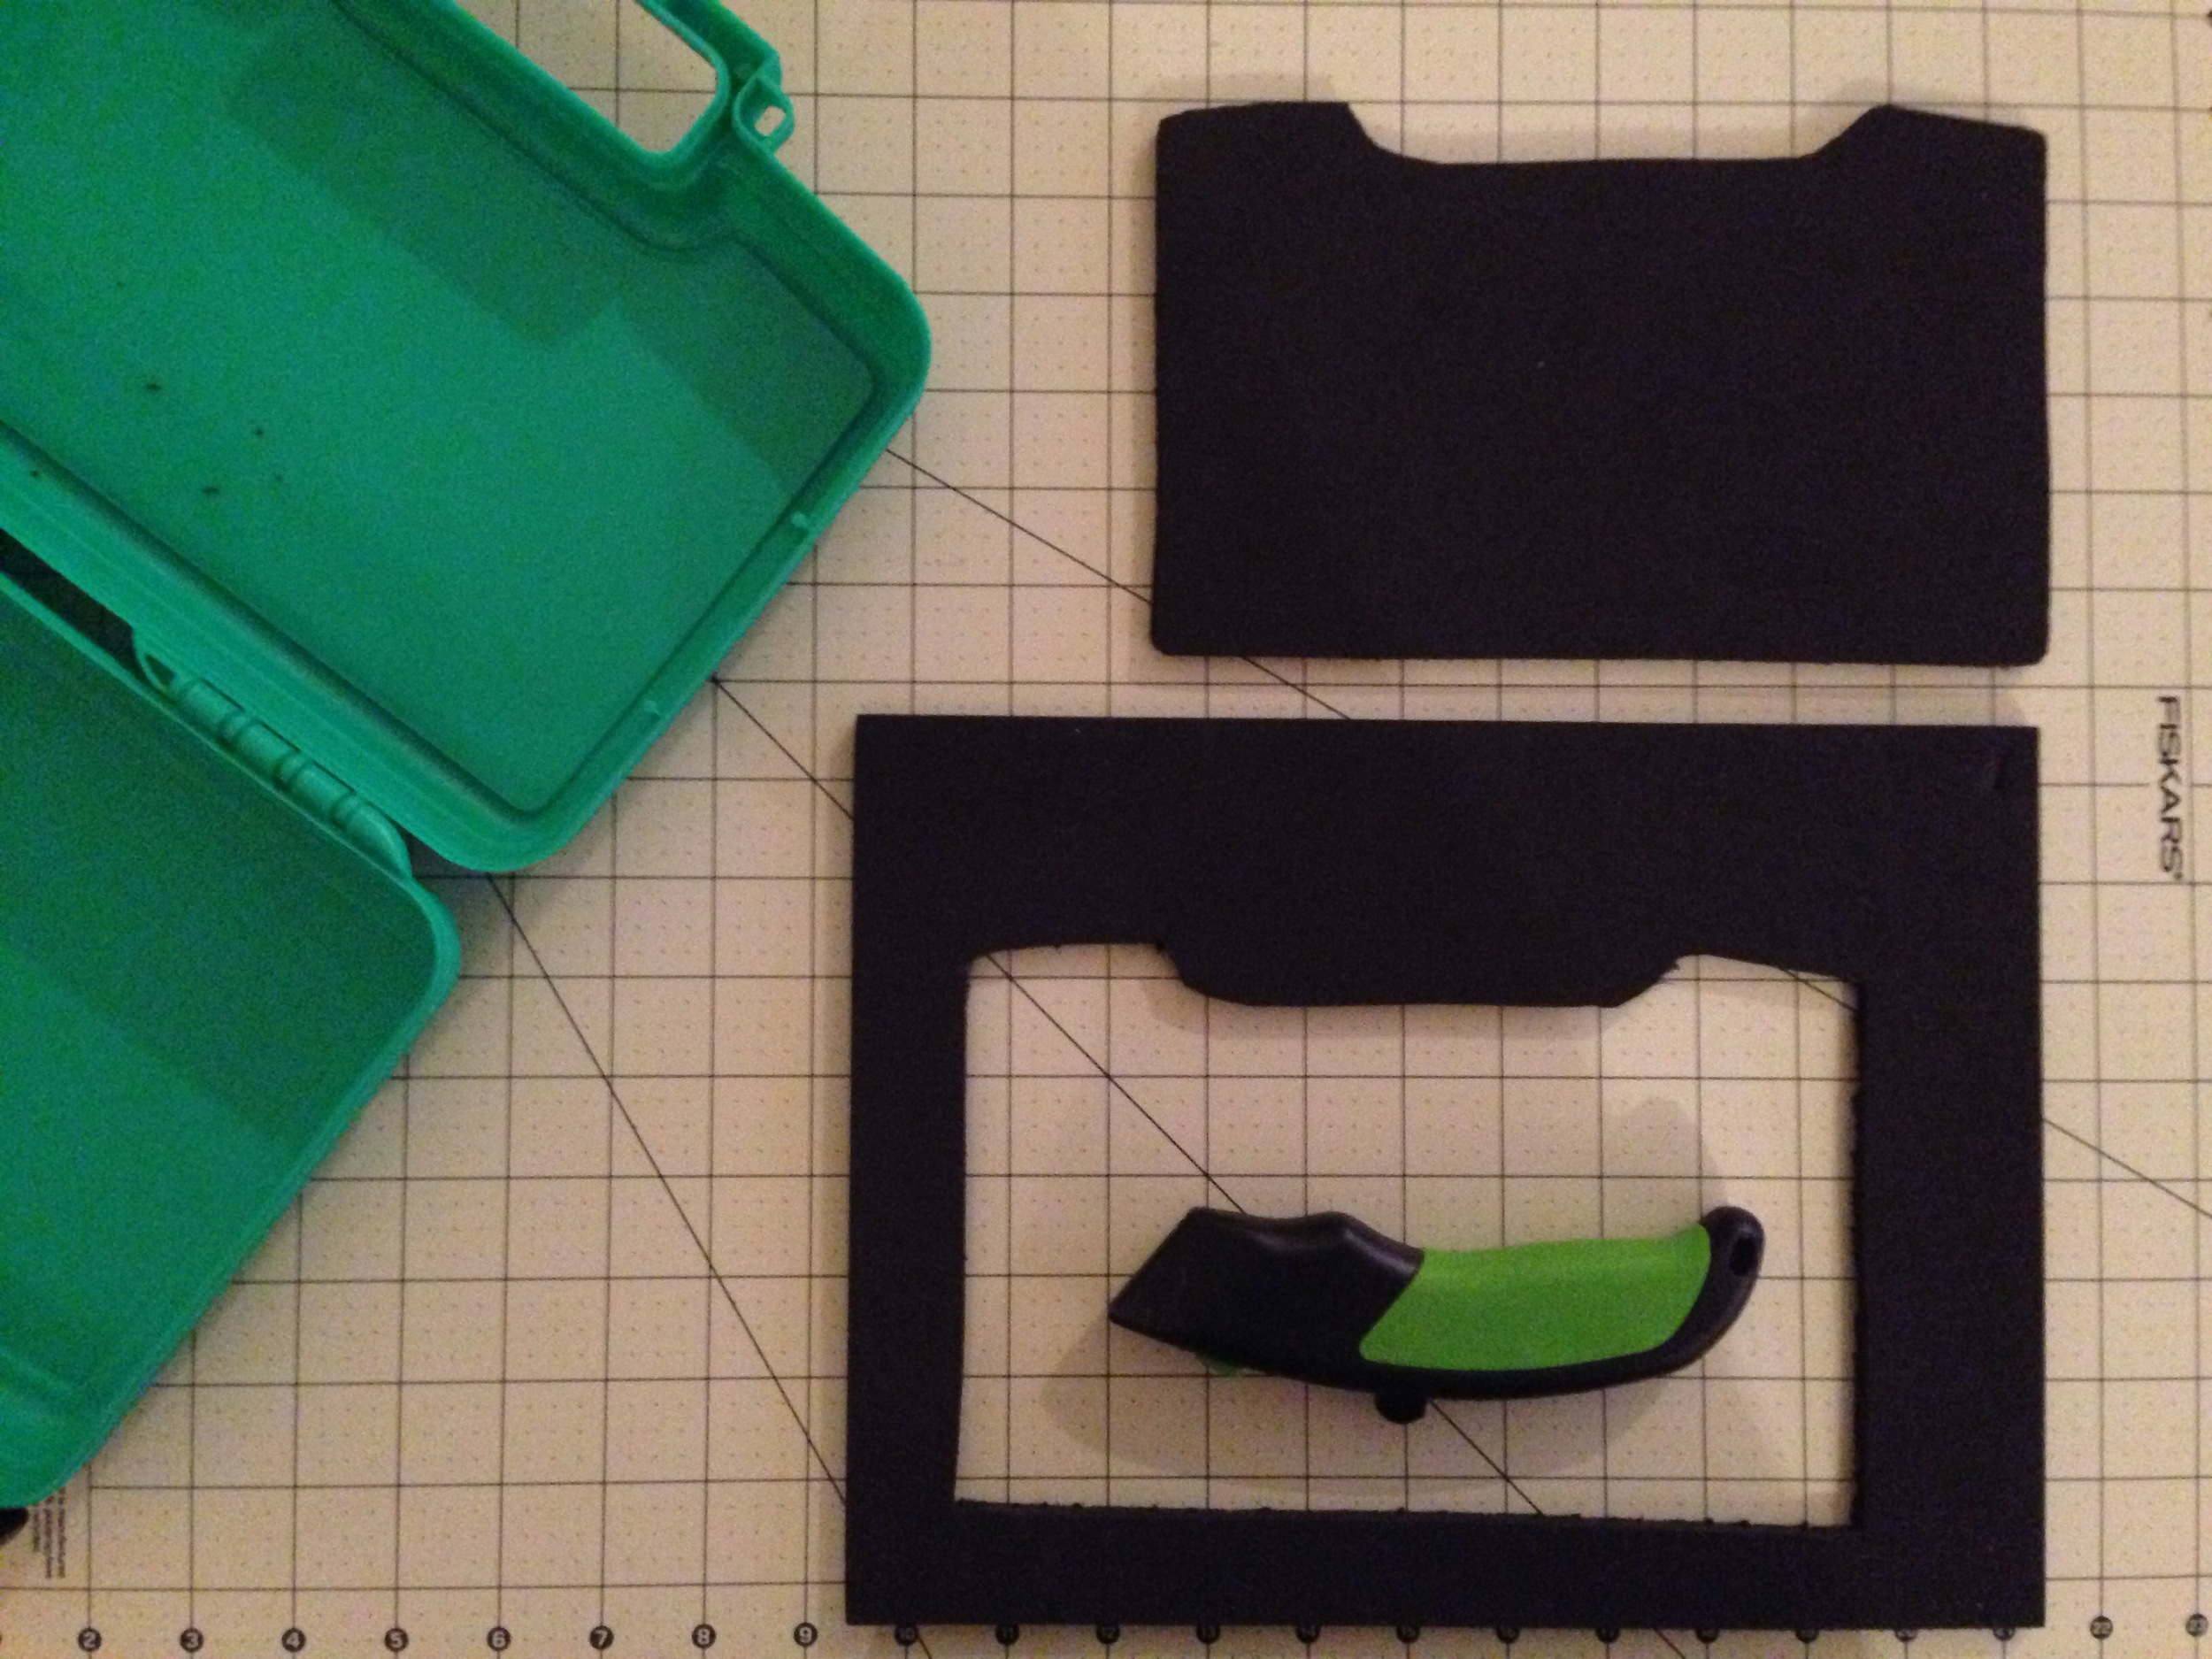
Use the indentation and trace around to create your case panels.

After cutting, give it a dry fit and any necessary trimming.

Grab that Exacto knife and using the straight edge, cut your slit about 3/4 of the way through the foam. Be careful not to cut all the way through. Any cuts through will allow your adhesive to leak through in later steps.

Give it a final dry fit and decide which fits each side best.

Be sure to have your spray adhesive the same temperature as your foam to eliminate your foam curling. Spray all the way to the edges and place in the appropriate side.
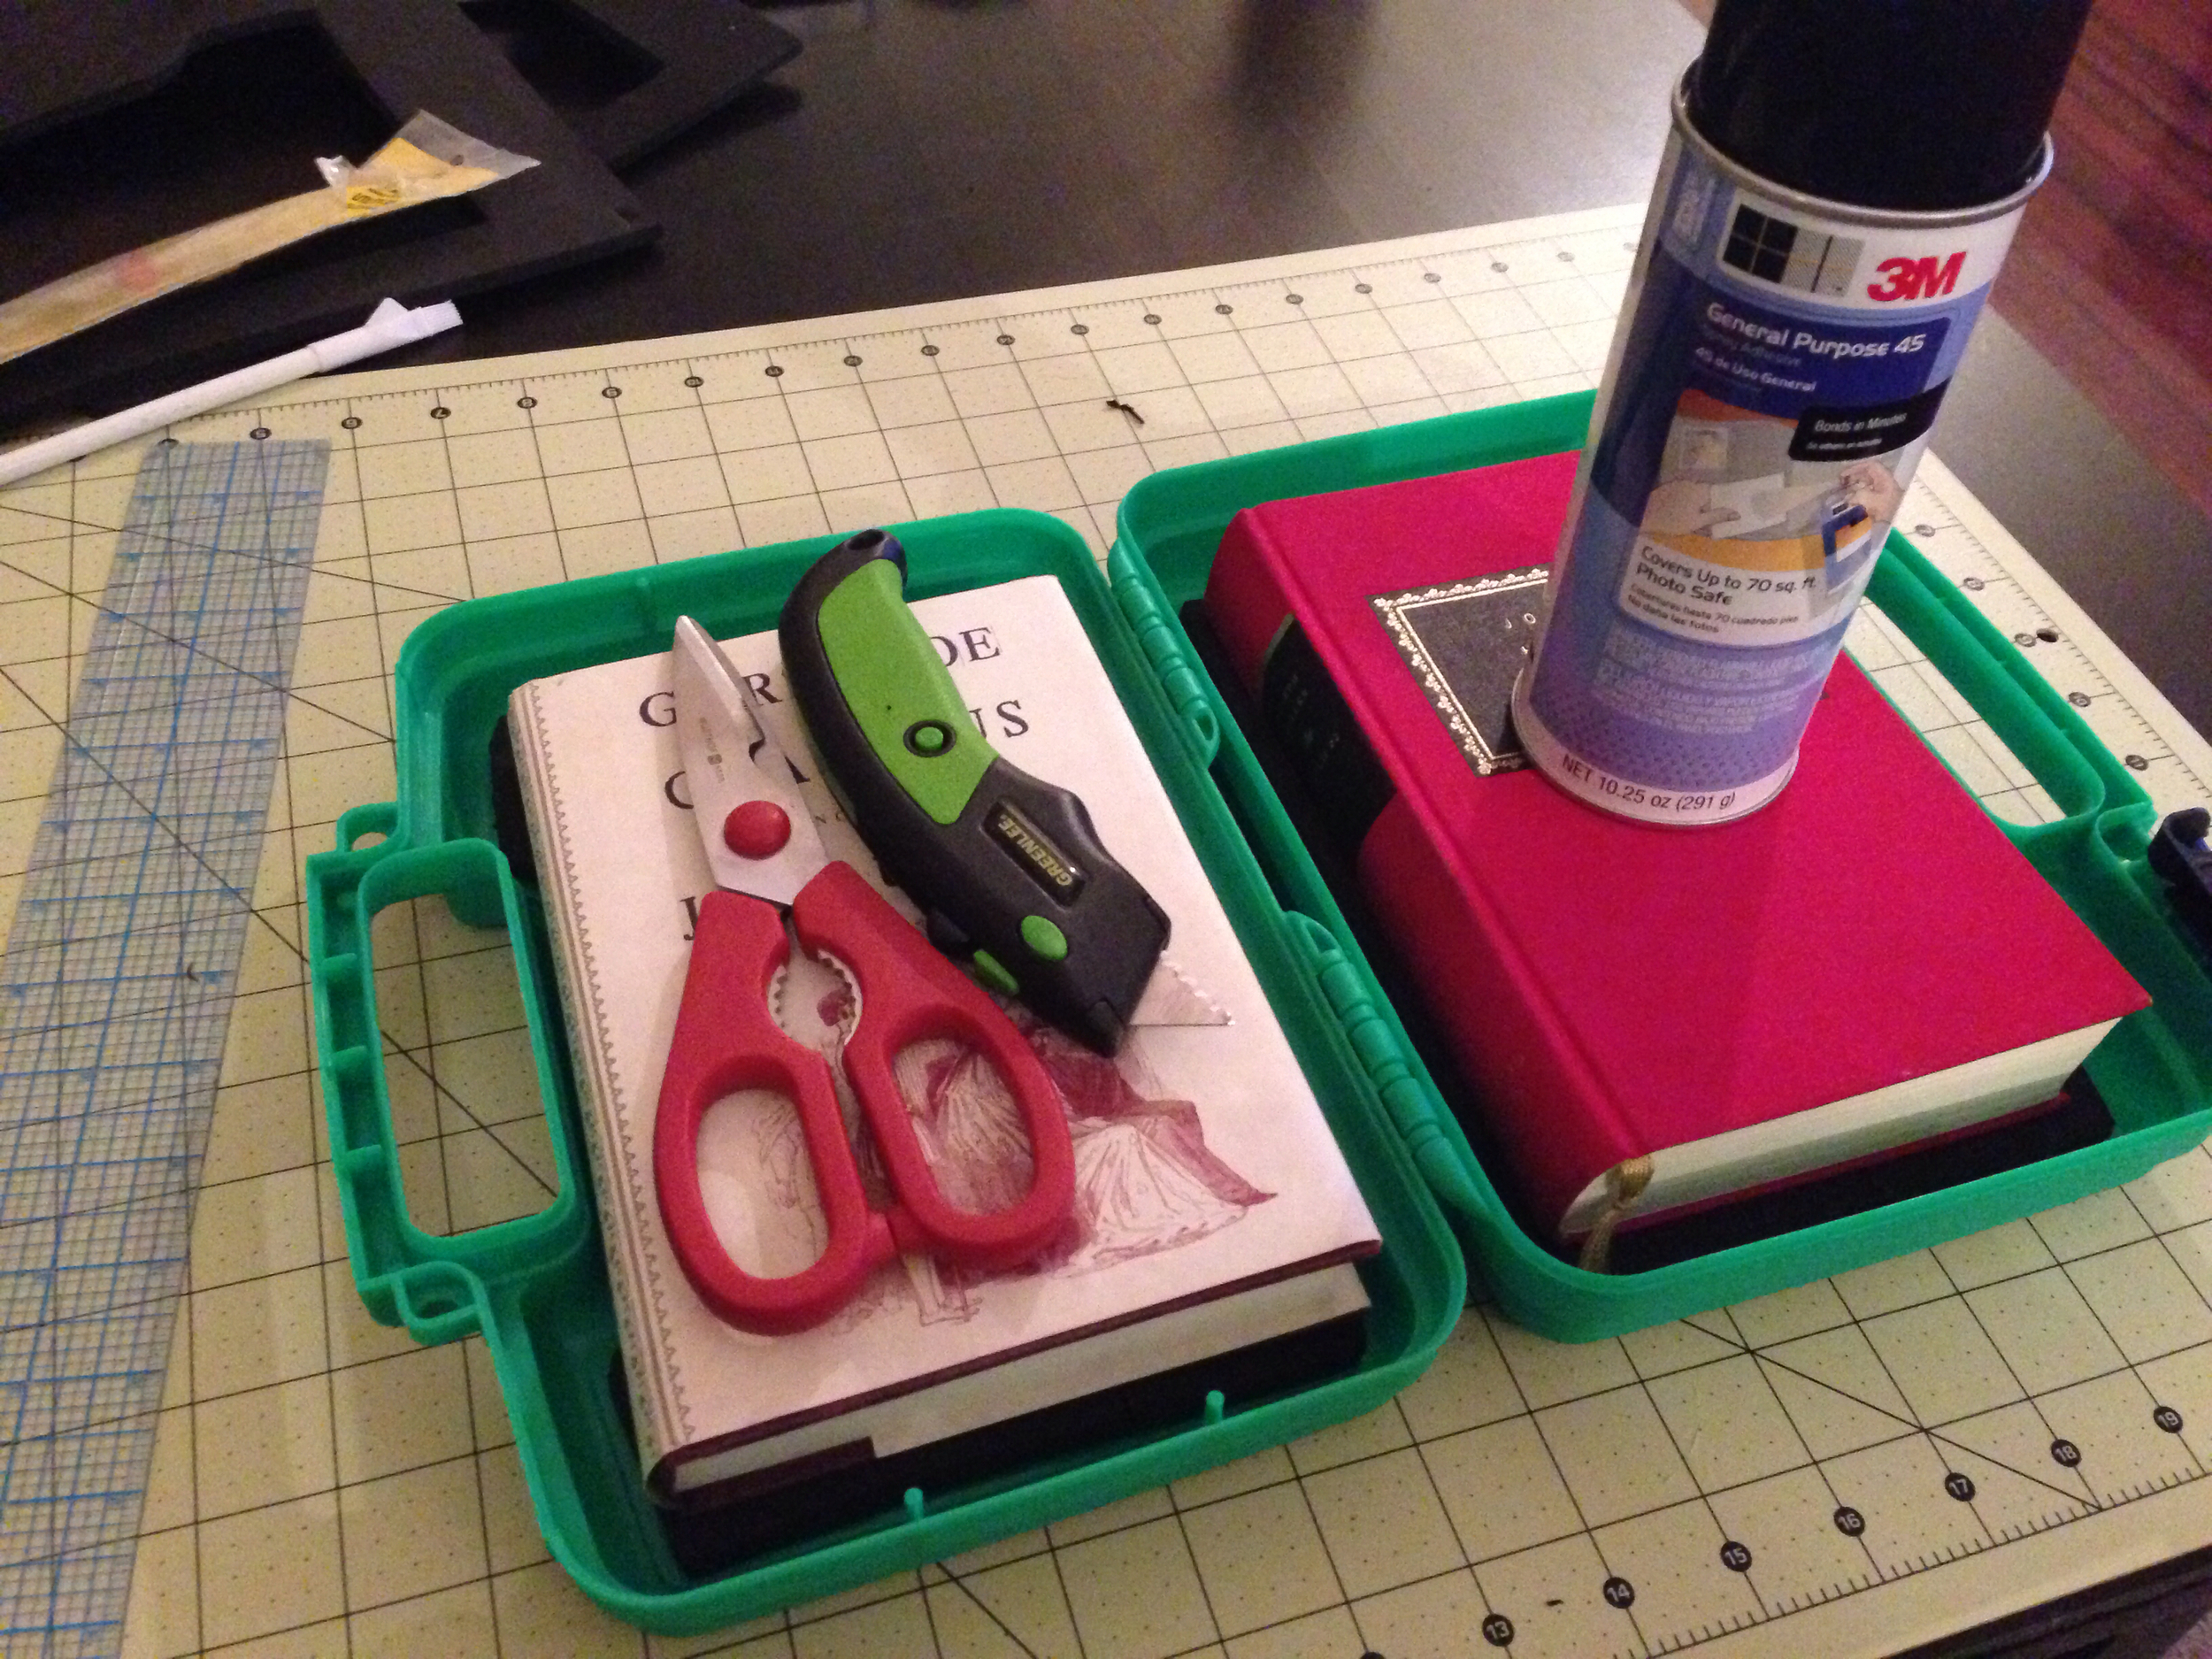
Use weight if necessary to ensure the adhesive is dry.
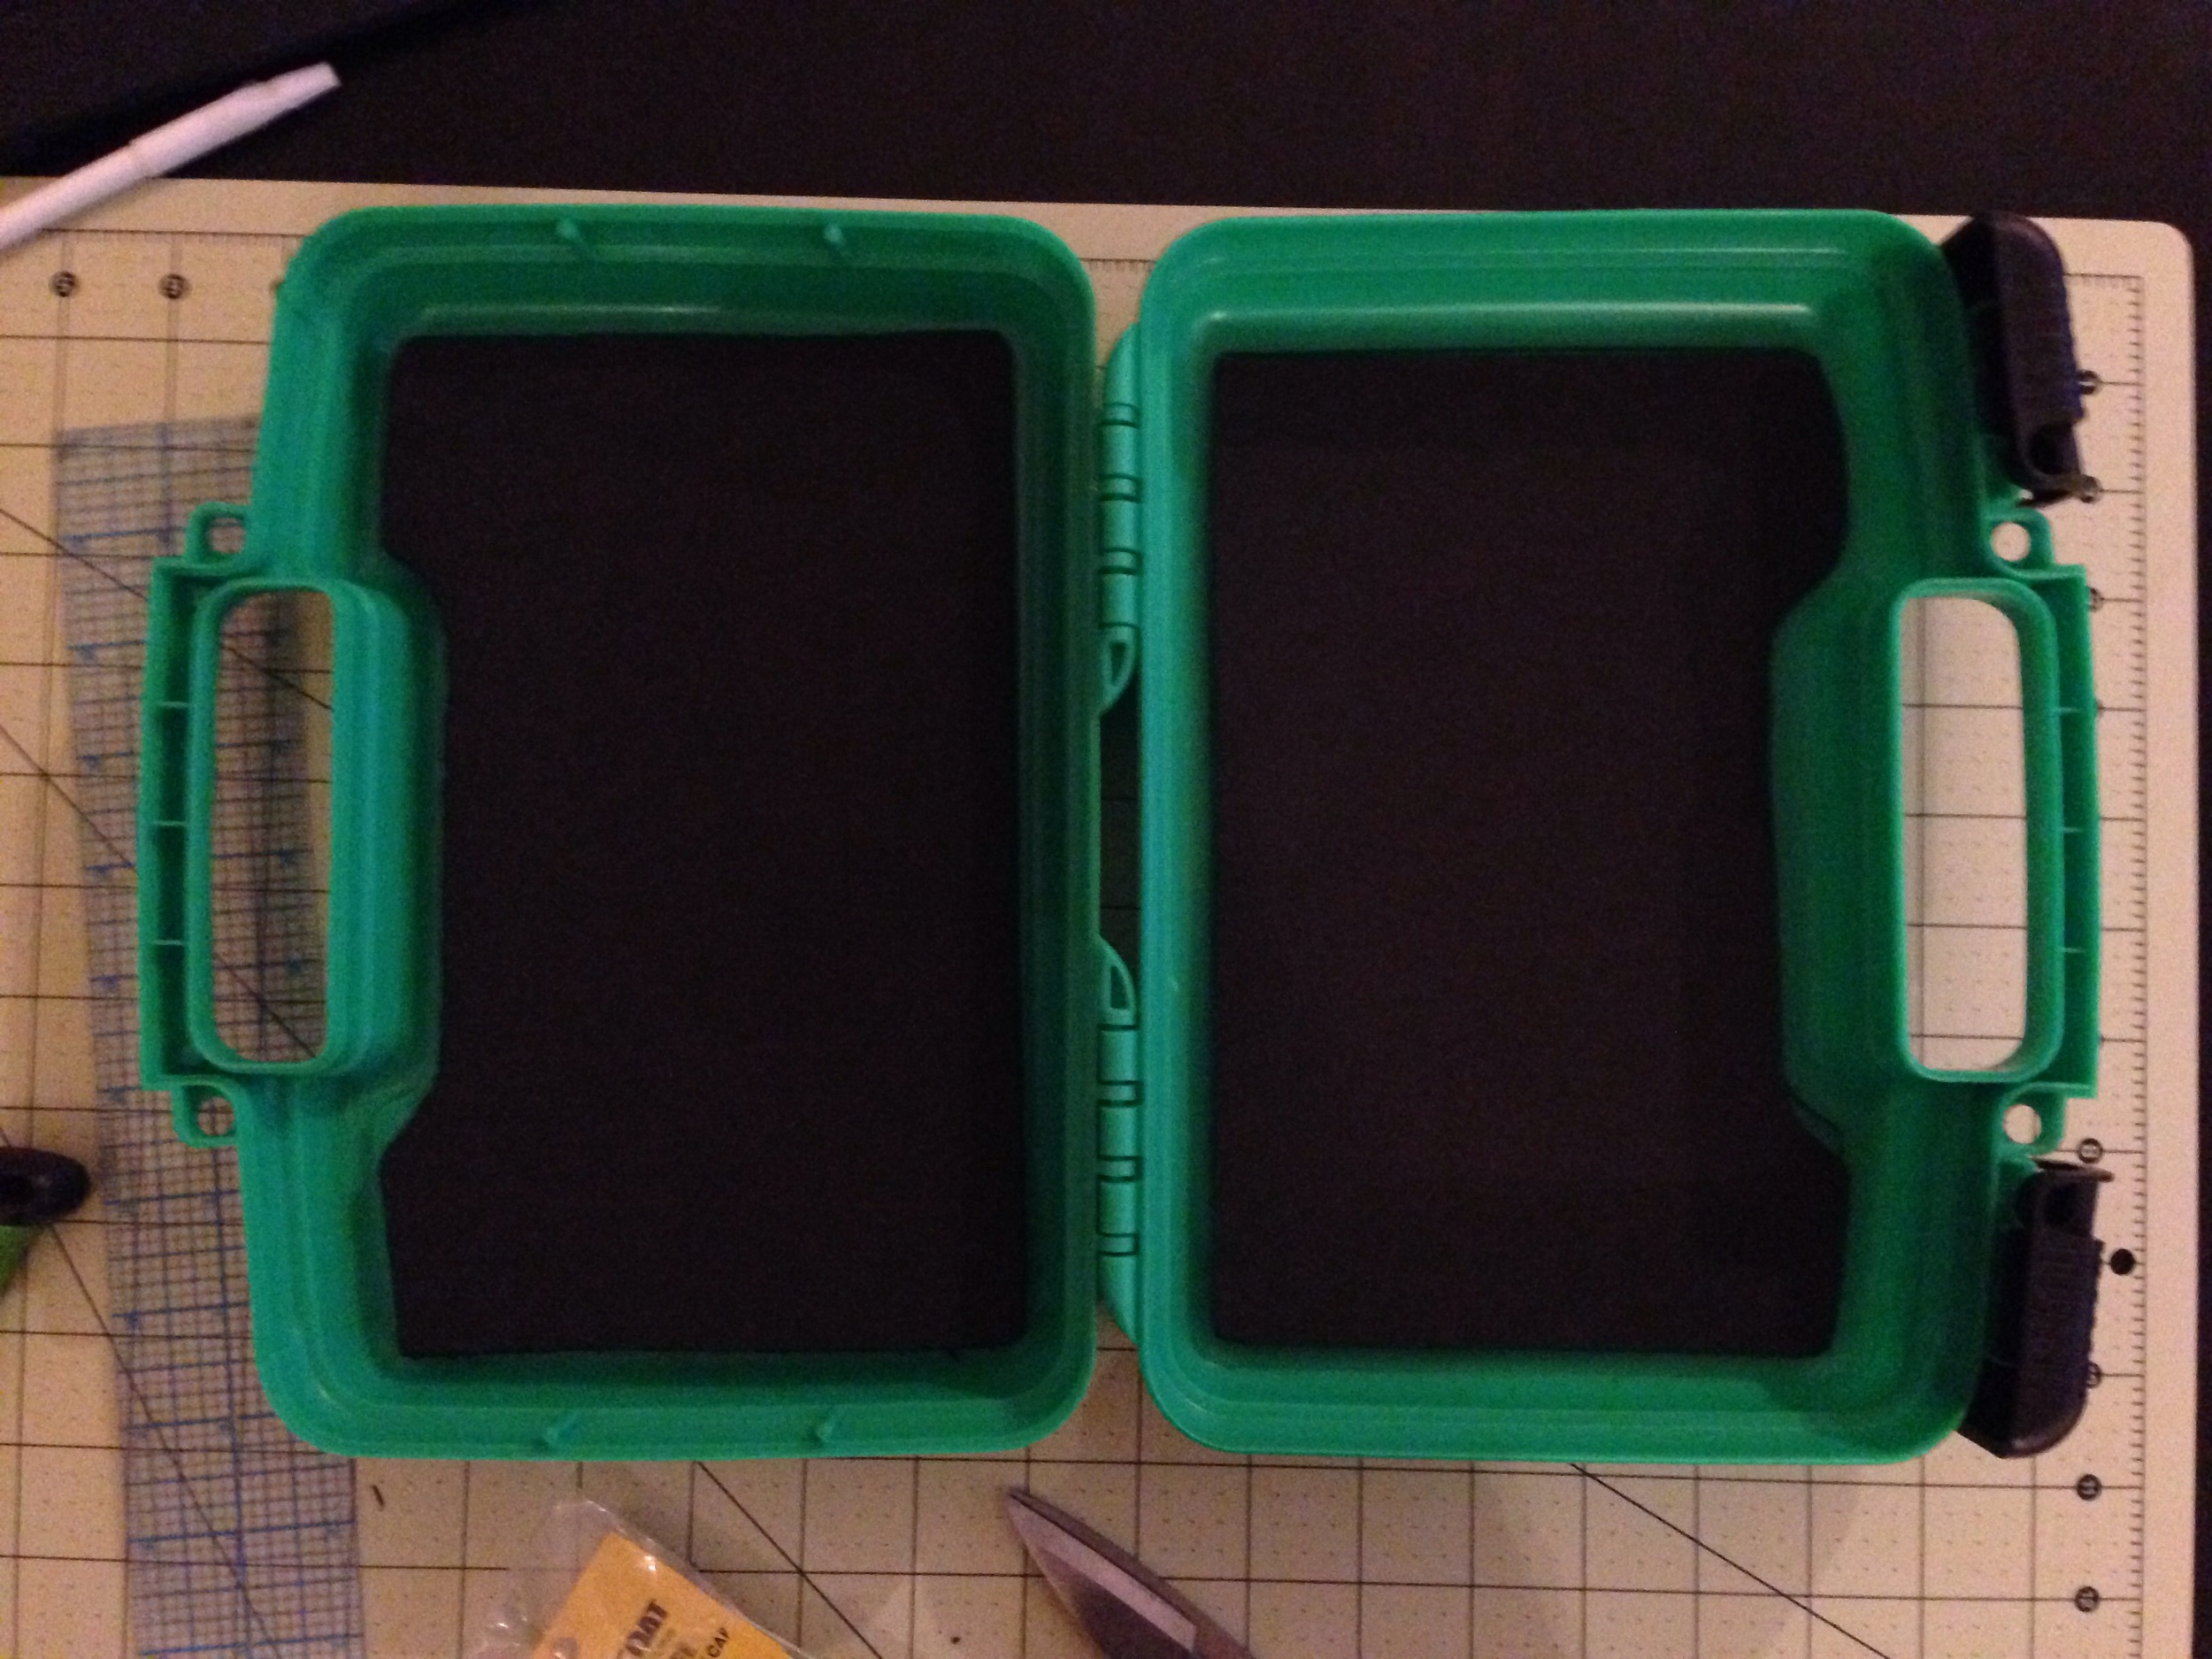
Final product, ready for some articulated goodness. You can also add another foam surface on the front/face of the case by cutting out an extra panel and using the spray adhesive as above.